In
this session we are looking at how we “Maintain” or work with Customer
Insurance Accounts. |
Of
course we start by Selecting the appropriate Option from the Menu. |
|
Then we can use any of
the available Lookup Methods to identify the Account. We can type in the Key. We can type in part of
the Name of the Account or we can simply use the F2 Lookup. Or we can double click
and select “Lookup”. |
|
|
|
|
|
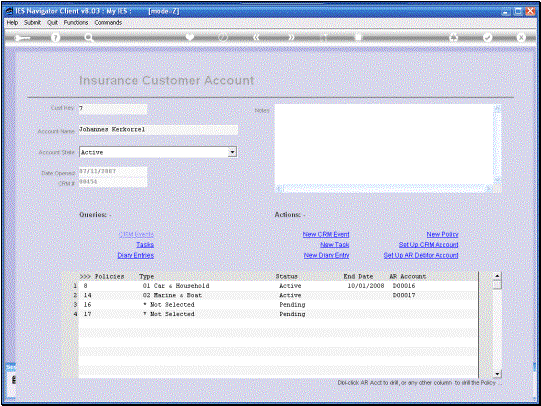
There are 3 different
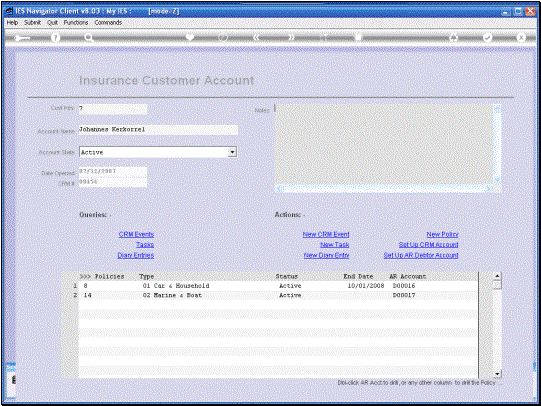
states for an Account to be in. First we have the
“Inquiry Mode”. In other words we have done a first quote, but the Account is
not really Active yet. Or it can be Active if there are any Active Policies
on the Account. Or it can be In-Active, i.e. we did a first quote, but it
never became Active, never Issued a Policy, or the Policy has not been
Renewed and are no longer on the Active Policies List. In this case we can also
set the Account In-Active. Now this is a setting
that we do manually, except if we put a Policy in an Active state and the
Account is not In-Active. Then the Account will
automatically turn Active. |
|
|
The
“Date Opened” is something that the System will automatically insert when we
first create the Account. We cannot Manually adapt or change that. |
The
CRM Number field also cannot be edited directly, but we can actually change
that information by using the “Set Up CRM Account” function and we will look
at that presently. |
|
The “Notes” field of
course can be used over and over again. We can record any
relevant Notes on this Account in the “Notes” field and we can make any
changes that we want to make at any point in time. |
Next we look at the
available Queries on the Account. If we choose “CRM
Events” then the CRM Events for this Account will be opened and if there are
any Events in the Default Data Range, then it will be shown. |
|
|
|
|
The link to “Tasks” is
here for convenience, but does not specifically relate only to this Account. So when we choose this
link, we will see all Tasks that are flagged for the Insurance. |
|
|
|
|
The “Query on Diary
Entries” is for this specific Account and the System will list any Diary
Entries that are found for this Account. If we select any of
those, then that particular Diary Entry will be Opened for Maintenance or
Modification, or further attention. |
|
|
|
|
|
|
Next we look at the
Actions, starting with “New CRM Event”. We can record a New CRM
Event on the specific Account at any time and we can select from the
Categories Setup for our CRM and Record the Detail. |
|
|
|
|
|
|
We
can submit a New Task directly from the Account here, by using the “New Task” Function and we can
record any Task that will be flagged for Insurance. It can be for myself or
for another User, provided that I have the necessary Task Access level
specified on my Task Profile. But, the Task is flagged
for Insurance, not specifically for this account. So if it is specifically
for this Account then we should make a note in the Description, on the Task,
that it is for this particular Account. |
The minimum requirements
for Updating a New Tasks, is to have some Description and to select a
priority. We can also change some
of the other Fields. For example, a different “User to Complete”. We can put a different
Time or “Hours to Complete”. We can put a different “Complete By Date”, and
we can also detail further instructions in the Instructions Field. If we have a Description
and we have selected our priority, then we can choose “Update”. Those are the minimum
things that we need to do to Submit a New Task. |
|
|
|
|
|
|
|
When
we “Submit” a New Diary entry, from the Account, then it is flagged for
Insurance and also specifically for this Account. |
|
|
|
|
|
|
Now
as we can see here, the New Entry is listed on the Query of Diary Entries for
this Account. |
|
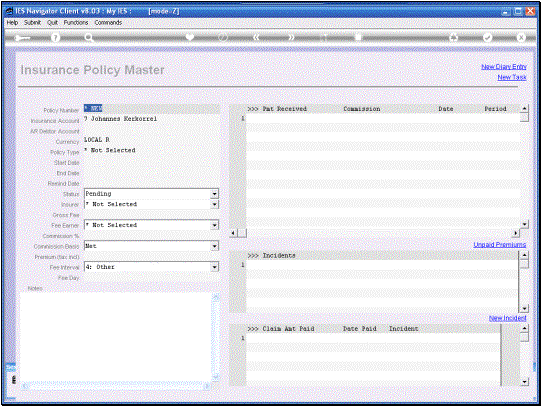
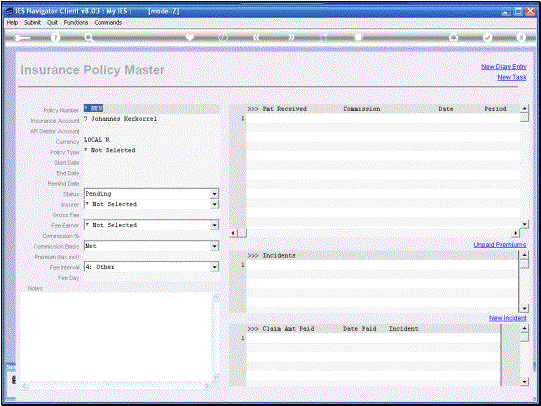
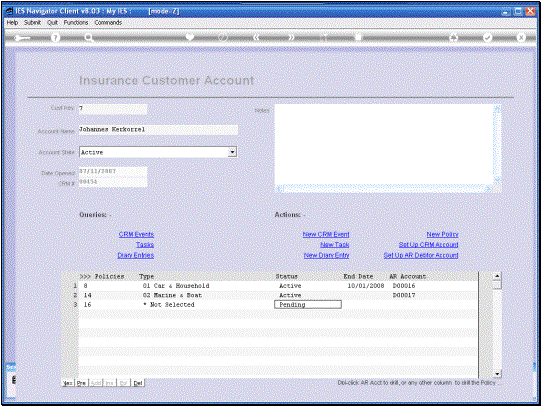
A
New Policy Record can be opened by dbl clicking an empty row on the list of
Policies or by using the New Policy Function. |
|
|
|
|
|
|
|
We
deal with the Policy Master itself in a separate Tutorial. |
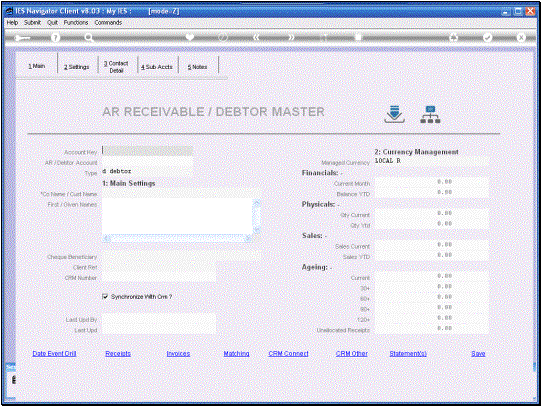
If no CRM Account is
listed for this Insurance Account yet, or if we want to Link or Re-Link to a
different CRM Number, then we use “Set Up CRM Account” The important thing to
understand about CRM is that we may have one or multiple AR Debtor Accounts
linked to this Insurance Account, by virtue of being used on the Policies
listed on this Account. It is rather important
to have the same CRM number for the AR Debtor Accounts as we have for the
Insurance Account because we have grouped together our CRM Events properly. |
So when we use this
Option, and the System does not tell us which we should do first. So we could Open the A R
Debtor Account/Accounts first and use that CRM and link it here. Or we can
Open it from her and then when we Open any A R Debtor Accounts, make sure
that we link this CRM Number to those Accounts. So - if there is already a CRM Number
present, as it is in this case, then we have the Option, not only to make a
New CRM Account, but also to Re-Link to a different CRM Number. If there is no CRM
Number yet, then of course the System will simply allow us to create a New
CRM Account or Re- Link, or Link to an existing CRM which we may already have
set up on the A R Debtor Account. |
|
We
can have one or multiple Policies listed for the same Insurance Account and
we can have one or multiple A R Debtor Accounts linked. The
AR Debtor Account is linked to the Policy itself and there really should be,
or is recommended to be a separate A R Debtor Account for each Policy. The
Currency of the Policy determines what Currency the A R Debtor Account that
is linked, should be managed in. So
if we want to Set Up a AR Debtor Account, we can do it from here. But we
certainly need Access to the normal Function for opening these A R Debtor
Accounts on our Profile. Otherwise the System will not allow us to use it via
this link. What
this link does, it takes us into the facility or Option to Open or Manage AR
Debtor Accounts. |
|
|
|
|
|
So we see that the
Management or Maintenance of Insurance Customer Accounts is quite easy and
straightforward and flexible. |


