Slide 1

Slide notes: In this tutorial we show the Data Edit Tool. This is an administrative tool for Support purposes, and seldom if ever used. We find it from Systems Administration, File and Data Controls and we select Data Edits.


Slide 2

Slide notes:


Slide 3

Slide notes:


Slide 4

Slide 
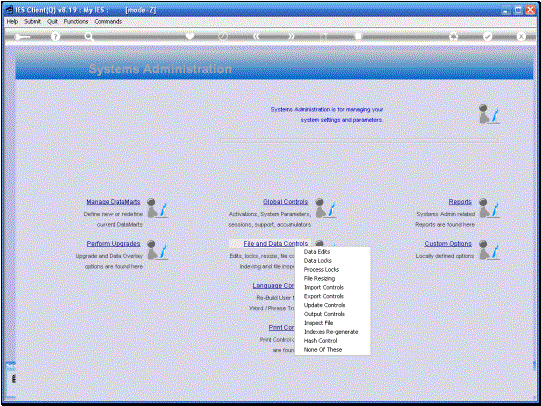
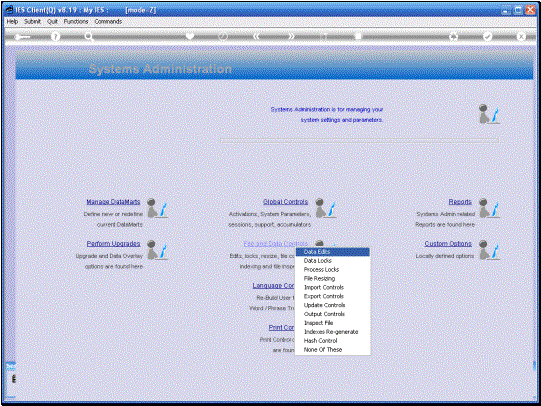
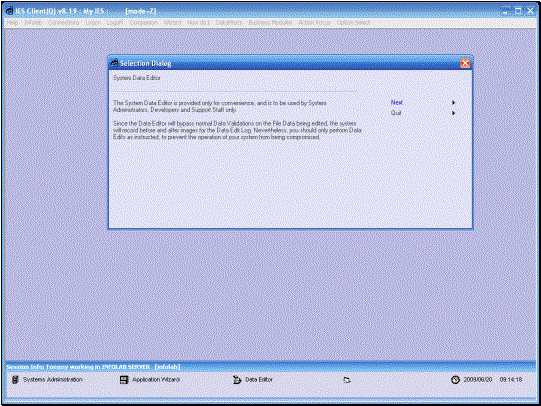
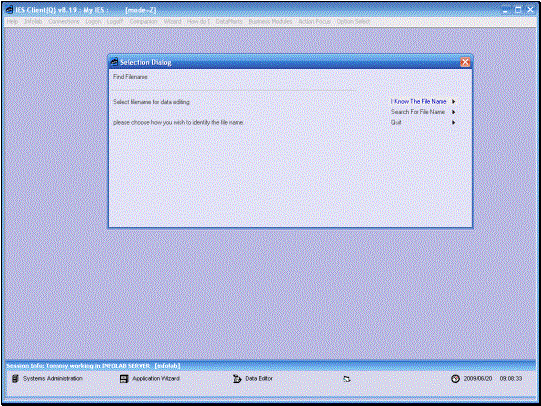
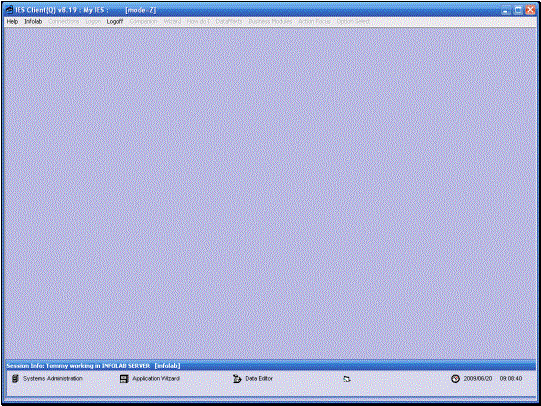
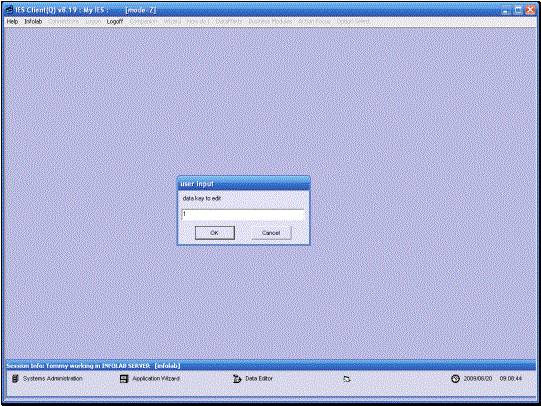
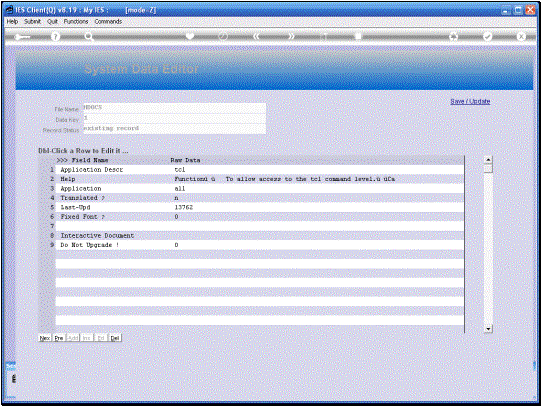
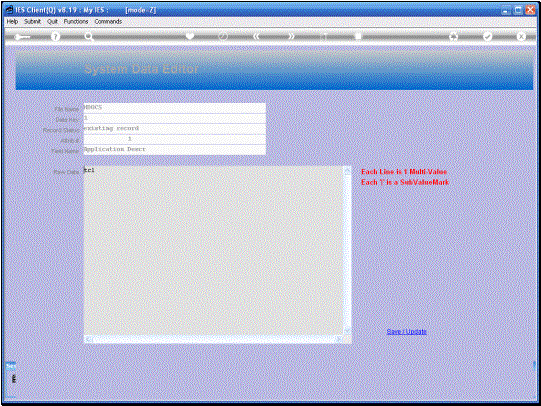
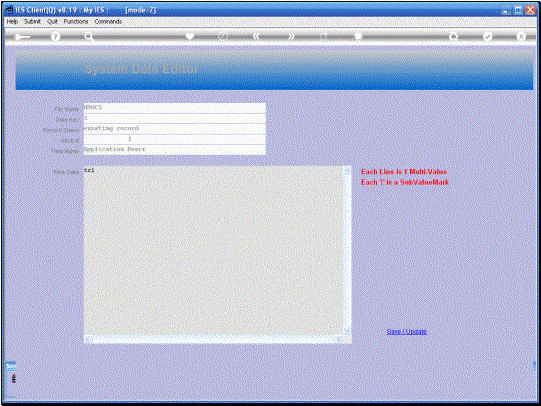
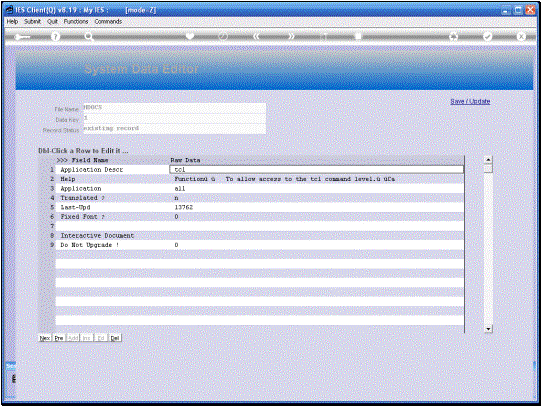
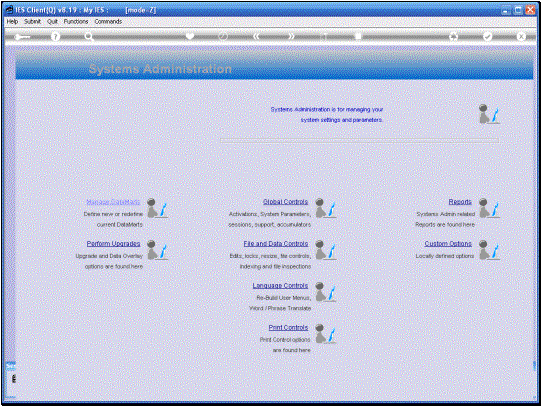
notes: Use of the System Data Editor is highly restricted, and only allowed for Users who are specifically listed on the System Main Parameters as authorized to use this tool. Why so? Because this tool allows editing of raw data in the system without the usual Business Rules being applied. For this reason, the system also keeps a careful and secret record of all Data Changes performed with this tool, and who performed it when ... One should always be very careful as to what data is edited and how, with the Data Edit tool, because it is possible to compromise system data and system functions.


Slide 5

Slide notes: The Data File can be specified directly or looked up.


Slide 6

Slide notes: In this example, we will use the Help File as the source data file.


Slide 7

Slide notes: And the data record in this example has a Key of "1".


Slide 8

Slide notes:


Slide 9

Slide notes: The Data Record will be displayed with Field Numbers and Names on the left, as available, and with the corresponding raw data on the right. We can db-click a field to edit it.


Slide 10

Slide notes:


Slide 11

Slide notes:


Slide 12

Slide notes:


Slide 13

Slide notes: Bearing in mind that our data in IES can have multiple values on the same Field, and even sub values without the multi values, the Data Editor provides for this.


Slide 14

Slide notes: Field or Attribute number 2 is such a multi-valued field, and as we can see here, the multi values are listed as separate lines. In the case where there are sub values also, they will be separated by the pipe symbol, i.e. "|" on a multi value data line.


Slide 15

Slide notes:


Slide 16

Slide notes: If we have made any changes, then we will use the SAVE function to update the data. If no changes have been performed, then we can just exit the screen.


Slide 17

Slide notes:


Slide 18

Slide notes: We can choose to access more records in the same file, or in another file. When we have finished, we can just choose QUIT.


Slide 19

Slide notes:


Slide 20

Slide notes: