Slide 1

Slide 
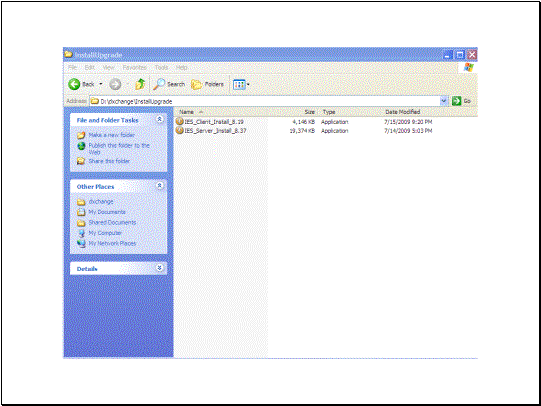
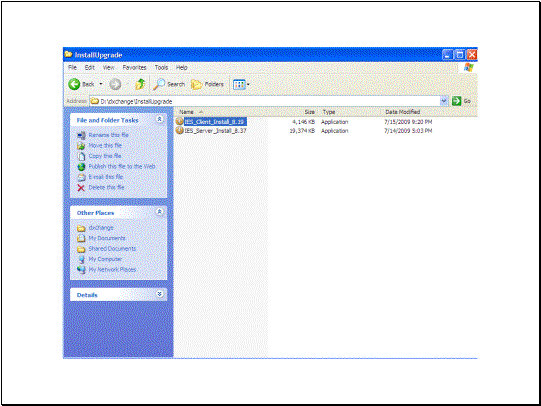
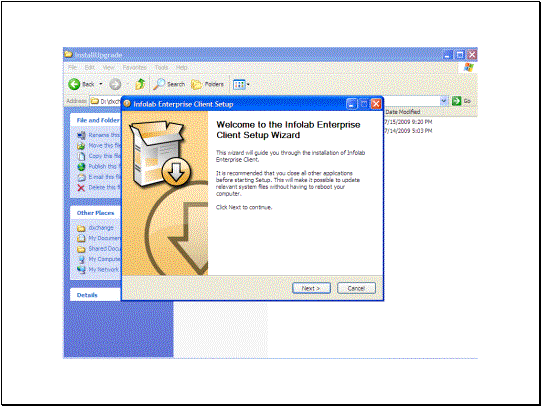
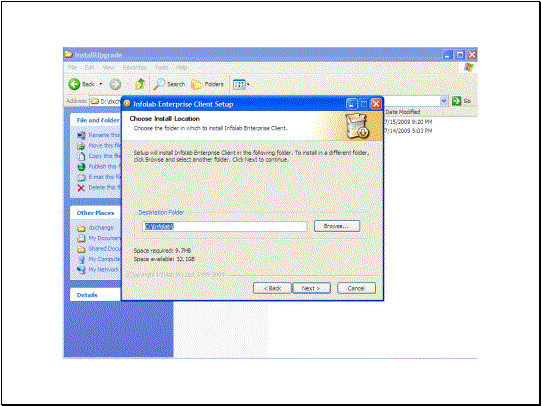
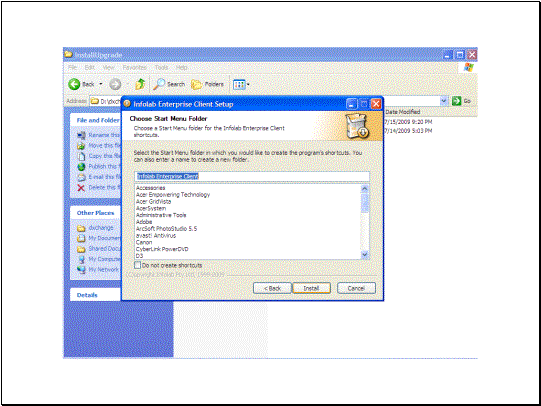
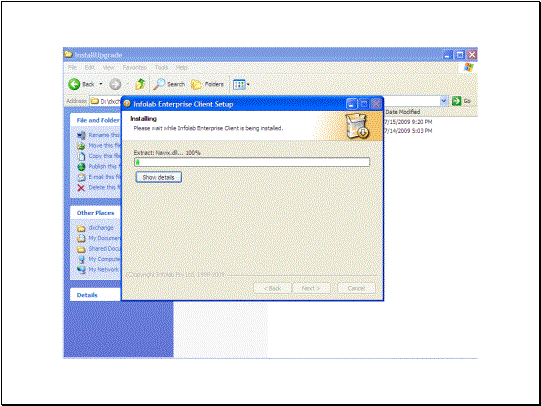
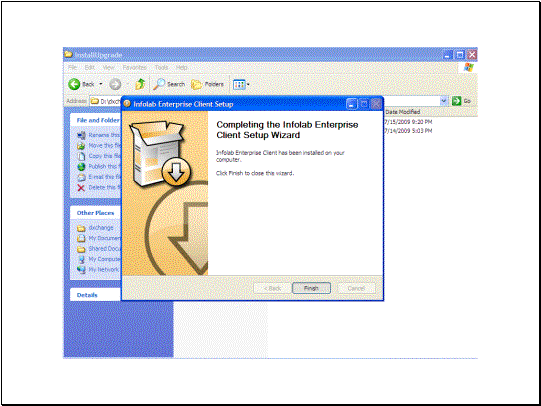
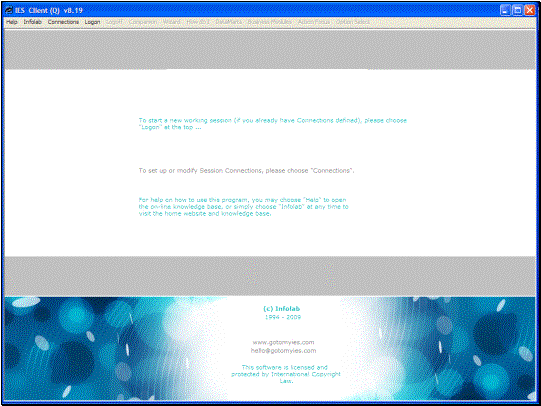
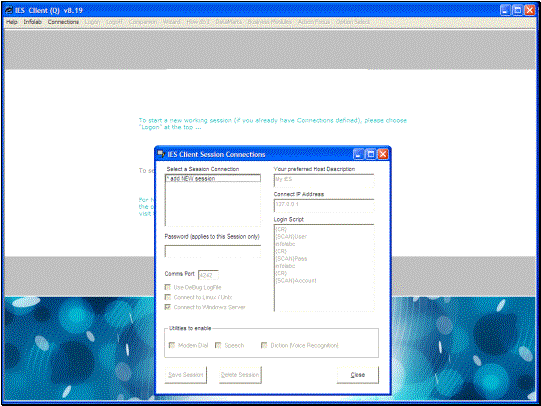
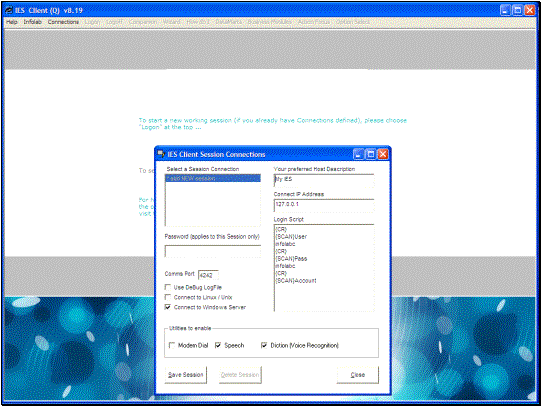
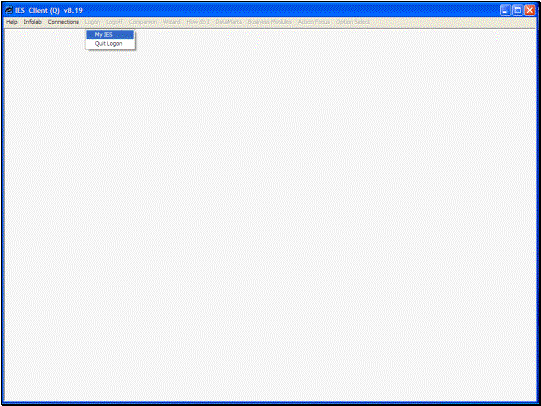
notes: In this tutorial we show how to install the IES Client, and this installation is performed on the machines of all Users who use IES. The exact same procedure is followed for a new installation and for an upgrade to a new release of IES Client.


Slide 2

Slide notes: Choose the installation program that has been previously downloaded or saved.


Slide 3

Slide notes: Choose NEXT.


Slide 4

Slide notes:


Slide 5

Slide notes: The install drive can be changed, but it is recommended to retain the suggested folder Infolab.


Slide 6

Slide notes:


Slide 7

Slide notes:


Slide 8

Slide notes: The installation will also create Desktop and Startmenu shortcuts.


Slide 9

Slide notes:


Slide 10

Slide notes: From the shortcut on the desktop, the IES Client can now be opened.


Slide 11

Slide notes: In the case of a 1st installation, there are no Connections defined yet, and the 1st connection has to be specified.


Slide 12

Slide notes:


Slide 13

Slide notes: Just choose 'add new session' with a dbl-click.


Slide 14

Slide notes: And specify the correct IP address for the server where IES is installed. If it is the same machine as the Client, then the default as shown will be correct.


Slide 15

Slide notes: Save the Session.


Slide 16

Slide notes:


Slide 17

Slide notes: And now the IES Client is ready for a Logon.


Slide 18

Slide notes:


Slide 19

Slide notes:


Slide 20

Slide notes: